
Choose table columns, filters and sort
Choose what a type’s table shows and how it starts when people open it. You need Model authoring and an open draft. The choices become the table’s model defaults after activation; they do not change stored records or save one person’s search.
See Record pages and tables for how table columns differ from the columns inside a record-page panel.
Open the table layout
Section titled “Open the table layout”- Select a type in the model editor and choose Preview, then Edit layout.
- Choose Table. If there is more than one table view, use View to select it.
- Check that you have a declared table view to arrange. The draft declares no table view means there is none for this type. Return to the application and use Add a view…, Table: the records of one type in rows to add one.
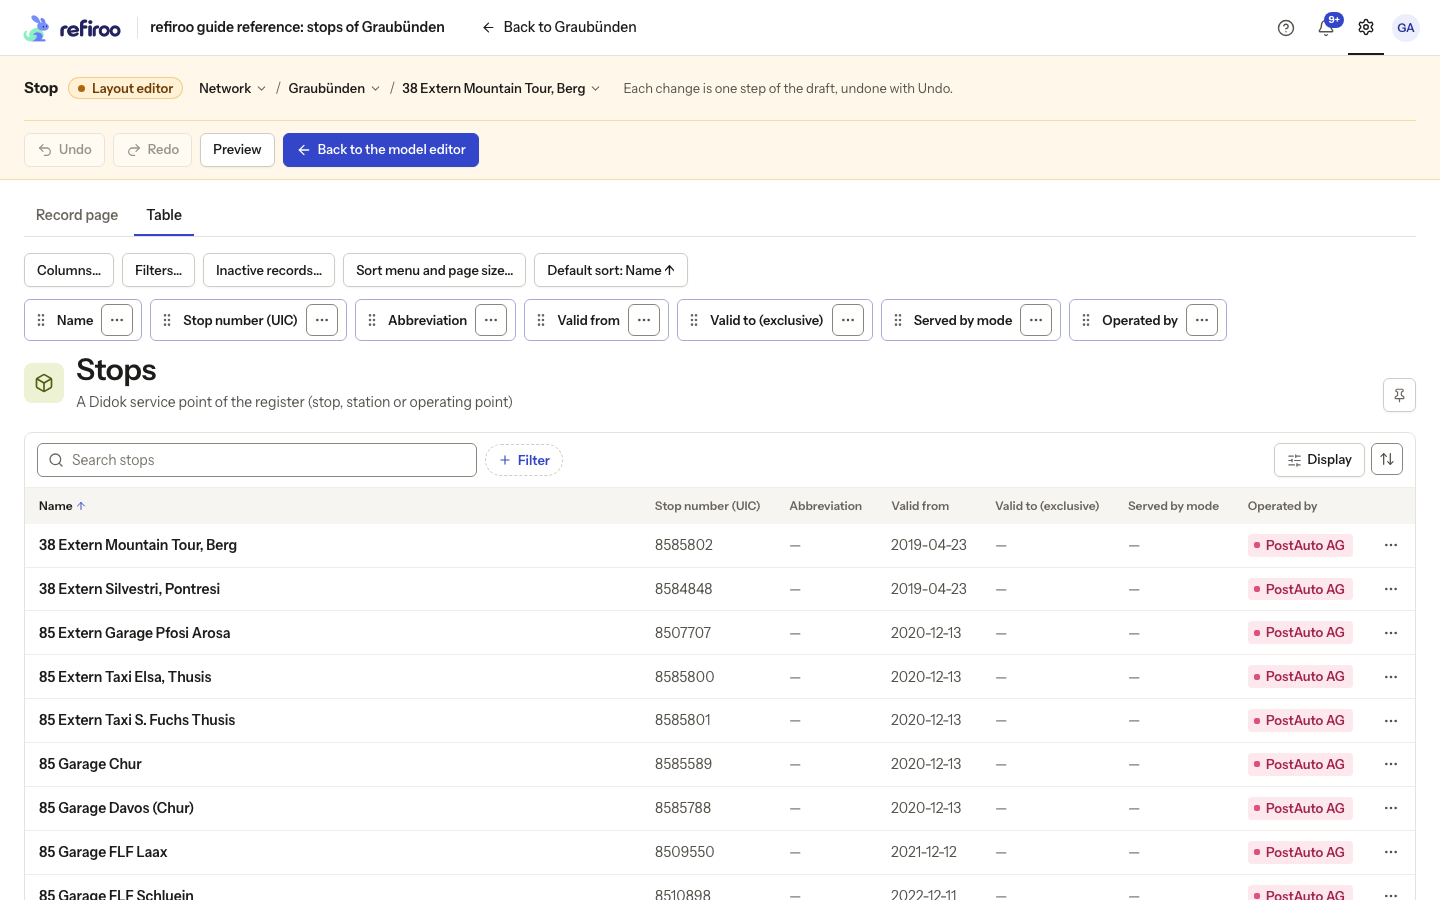
If the draft is invalid, use Show issues and correct the definitions before opening the layout. Follow Preview a type for the workspace and record choices.
Choose columns, including fields of related records
Section titled “Choose columns, including fields of related records”- Choose Columns…. The popover lists Name, the type’s fields and its relationships, including its parent relationship where applicable. Check the columns you want to show.
- Check a relationship to show the names of related records as a column. To show one of their fields, open Fields of followed by the relationship’s name beneath that choice. Opening the list does not select the relationship or its fields.
- Select a field of the related records. Each checked field becomes a separate column; you can keep the relationship’s name column as well, or leave it unchecked.
- To show information from a containing record, look under Where they sit · followed by a type’s name. Choose its Name or one of its fields. These choices include types further up the related records’ hierarchy. Fields holding JSON are not offered here.
- Choose Apply. Check the resulting column frames. A field column’s heading combines the relationship name and the field label. Its cells show the related records’ values, with — where a related record has no value. These columns cannot sort.
- Reorder frames by their grips, or open a column’s menu and use Move left or Move right. Remove column takes it out of this view without deleting any values.
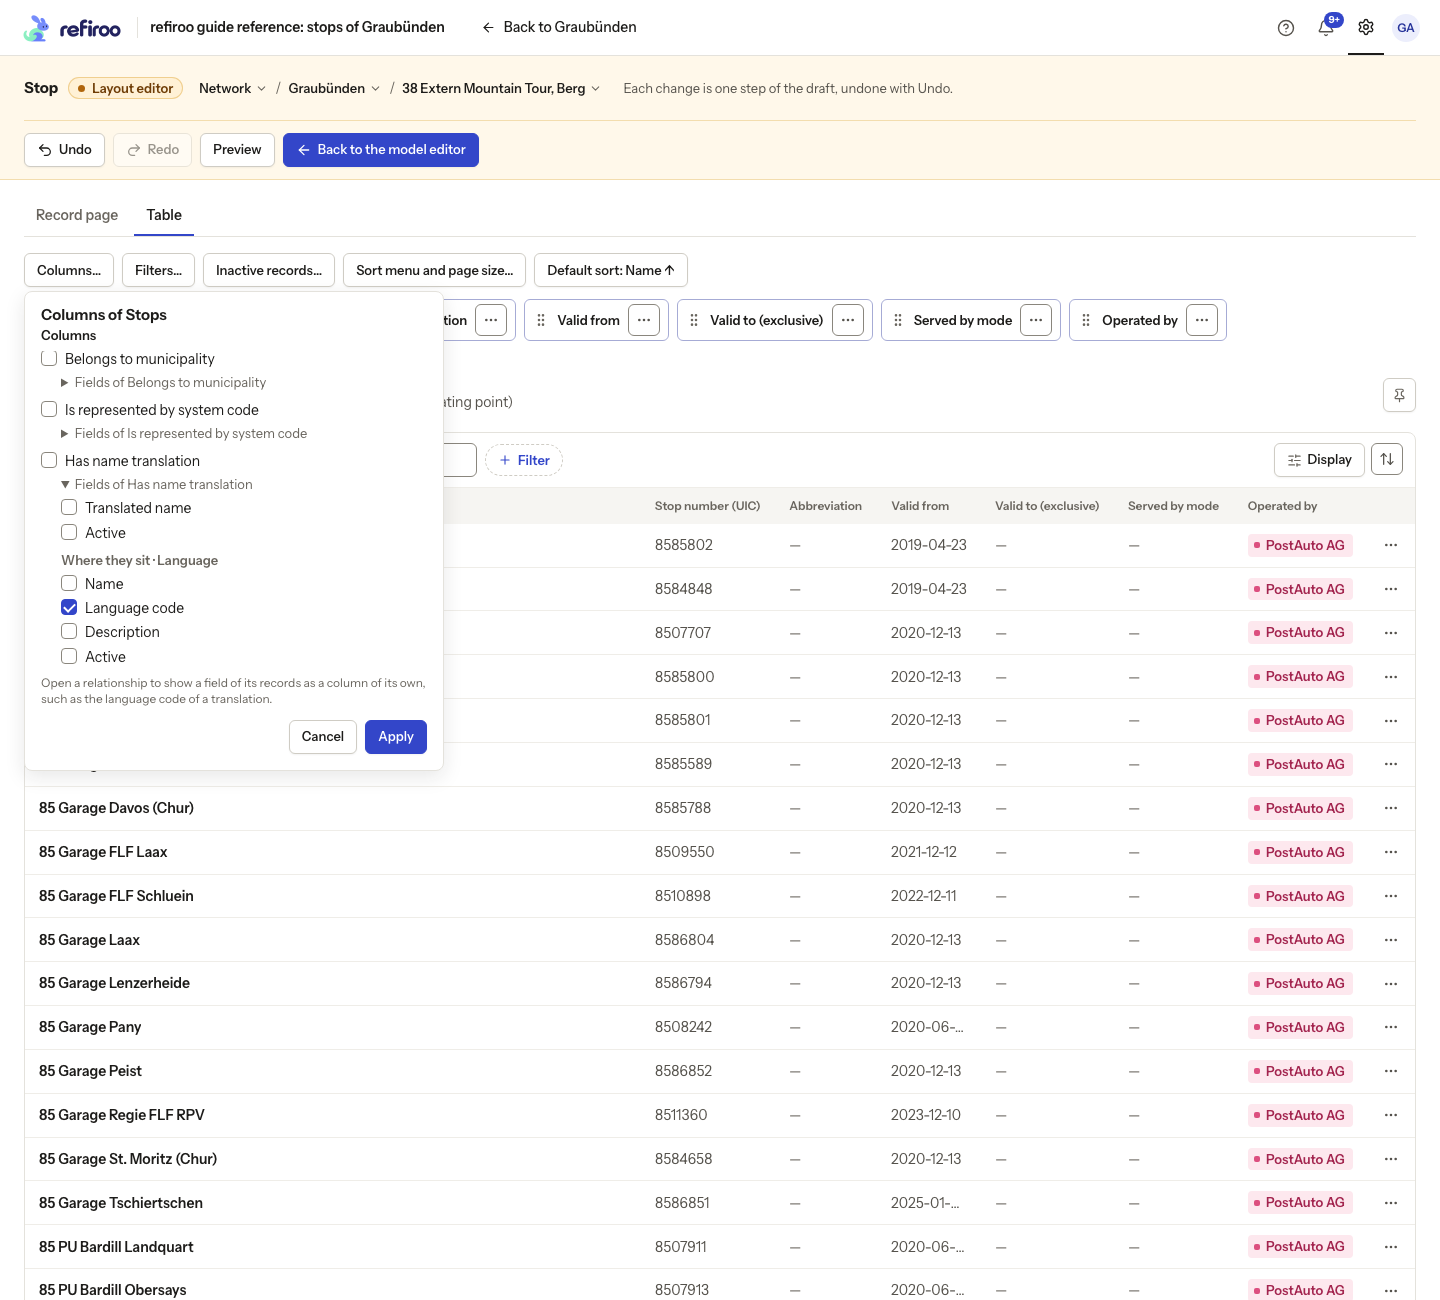
Above: the Stops table in the guide’s Graubünden model. Fields of Has name translation shows the translation fields and Where they sit · Language. Selecting Language code adds Has name translation · Language code, showing the language of each related translation.
These choices read fields of records at the other end, or of their containing records. Fields stored on the relationship itself cannot be columns. If you need the containing record’s name inside a record-page panel, use that panel’s Columns… menu.
Choose available filters
Section titled “Choose available filters”- Choose Filters… and select the fields and relationships people may filter by. Choose the relationship itself to offer a relationship filter. The popover does not unfold its fields: a related-field column does not provide a filter on that field.
- Choose Apply and check the selection. This defines available filters; it does not restrict everyone’s table to particular values. In the live table, a relationship filter can find records linked to selected records, linked to any record, or with no link.
Keep at least one column and one filter field. An ordinary field must allow filtering and must not hold JSON. If Not applied appears, read its reason, adjust the choices and apply again; a refused step changes nothing.
Choose how the table marks inactive records
Section titled “Choose how the table marks inactive records”- In the Table layout, choose Inactive records…, beside Filters… and Sort menu and page size…. The popover is titled Inactive records of followed by the view’s name.
- Under A record is inactive when this is No, select a Yes/No field of this record type. Choose None if this table should have no inactive mark or switch. If the field you need is missing, check that it belongs to this type and is Yes/No. A field of another type, or a field with another kind of value, is refused for this setting.
- Choose Save. This saves a draft step; it does not change any record’s value or make a read-only field editable. The field does not need to be selected in Filters…. If Not applied appears, read the reason, correct the choice and apply again. Use Undo to reverse an unwanted draft step.
- Review Issues before installing and activating the release. In the active table, records with No stay in their usual order with a quieter name and a grey Inactive pill if the field is called Active. For another field name, the pill says Not followed by that name in lower case. Records with no value have no inactive mark.
- Check Hide inactive (N) beside Filter. It starts off unless the page address already applies its filter. Turn it on and check the added pill, such as Active: not No: only marked records disappear, and records with no value stay visible. Turn it off or remove the pill to restore the results. The number counts No values after the list’s search and other filters, including 0 when none match. Choosing Yes in the ordinary + Filter menu instead excludes records with no value; it does not turn this switch on.
The setting belongs to the selected table view. The same mark and switch use a change set’s or publication’s own values; publications remain read-only. See Mark inactive records in a table for the rules and Lists, search and filters for the reader’s controls.
Set the initial order and check the table
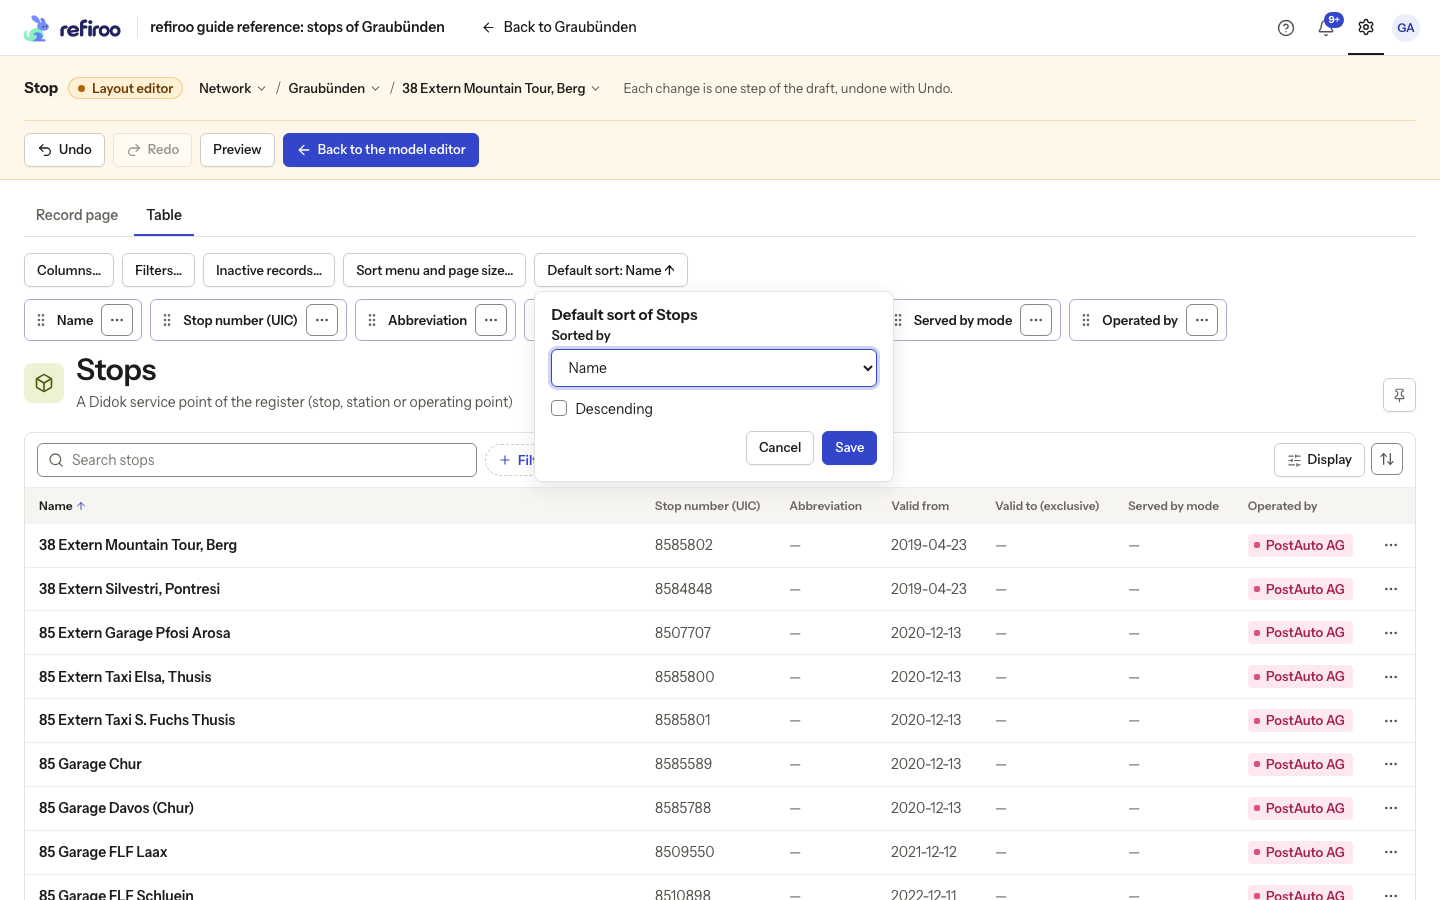
Section titled “Set the initial order and check the table”- Choose Default sort, whose control shows the current field and direction arrow.
- Select Sorted by from the view’s allowed sort fields. Check Descending to reverse the order. Related-field columns cannot be chosen as the initial sort.
- Choose Save and check the arrow on the control.
- Return to preview and inspect real records, including ones with several related records and ones with none. An empty table explains what it will show; it does not mean the view is broken. Use Undo for an unwanted step and review Issues before installing and activating the release.
People continue to see the active layout until activation. Tree and mapping-grid settings are in the application’s view menu; see Add a view.
Set the sort menu and reading size
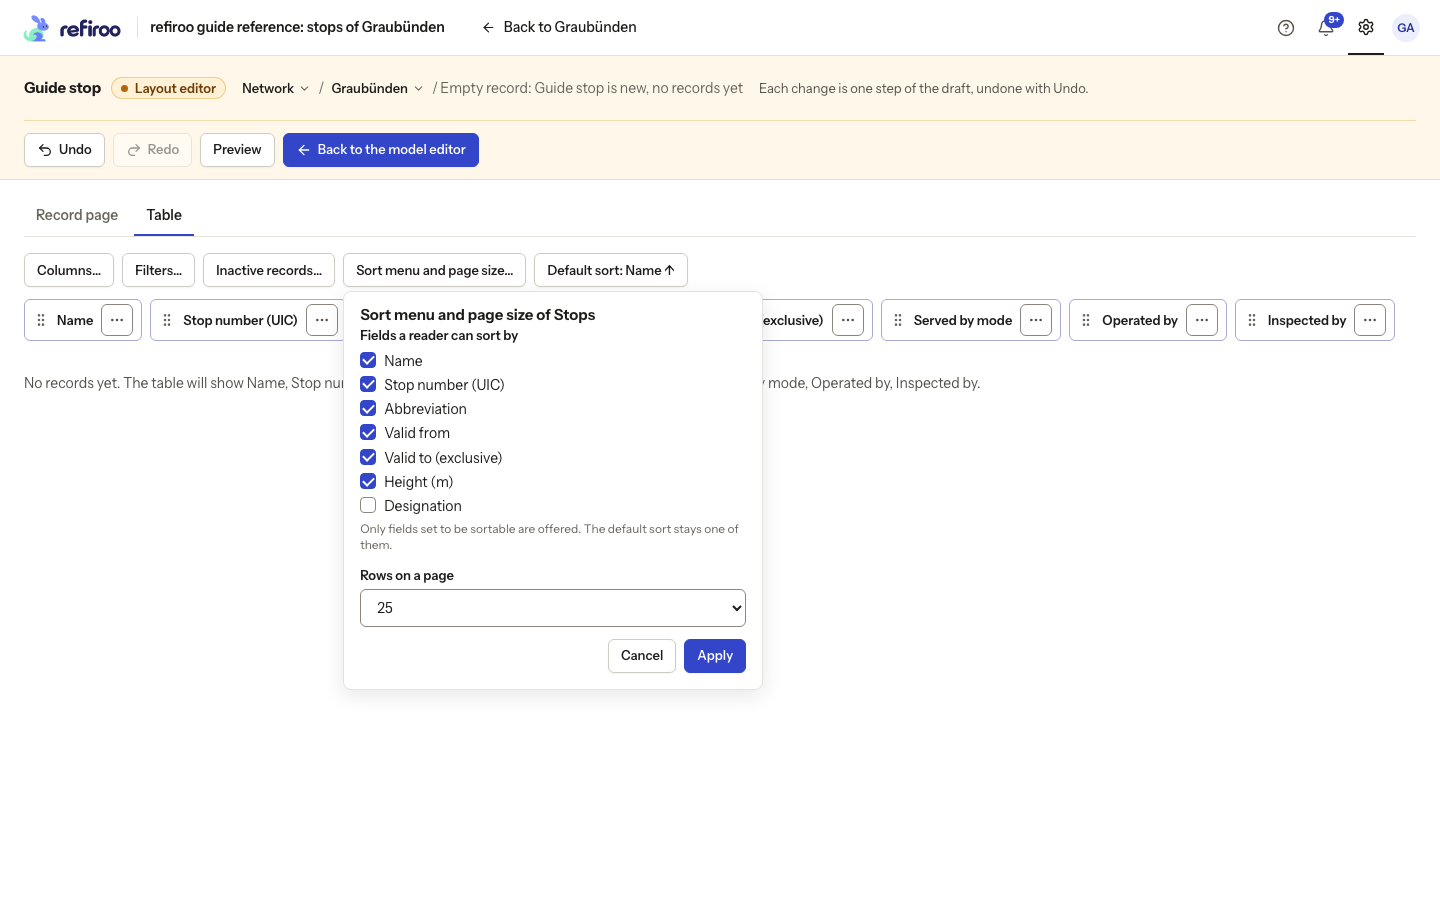
Section titled “Set the sort menu and reading size”- In the Table layout, choose Sort menu and page size….
- Select Fields a reader can sort by. Name, existing choices and attributes marked Sortable are offered. To add another attribute, first enable Sortable on its shared definition. Ordinary field columns can still sort from their headers.
- Keep at least one choice. If the current default is removed, the first selected field becomes the default; if you uncheck everything, the current list is retained.
- Choose Rows on a page and Apply. The choices are 10, 20, 25, 50 and 100, plus an existing different size. This is the amount read at once, not a total-result limit.
- Review Default sort again, and check the preview and Issues before activation.