

Add a relationships table
Add a relationships table when people need to maintain values belonging to connections between records. Work in a draft with Model authoring. First allow the relationship and choose what it carries. Read columns and grouping for the model rules, and Relationships tables for the result people use.
Choose the relationship and columns
Section titled “Choose the relationship and columns”- Select an application in the draft and choose Add a view…. Enter Name first; it is red while empty.
- In Kind of view, choose Relationships table: each relationship in a row, with its own attributes. If it is absent, allow a relationship between two types first. Containment is not offered for this view.
- In Relationships, choose the directed pair and relation. Read the arrow: the from end supplies grid rows, and the to end supplies column groups. The view reads this one pair, even when the relation type also connects other pairs.
- In Columns of the from record and Columns of the to record, select and order the fields that identify each end. Keep at least one in each. Name and scalar fields are offered; fields holding JSON are not endpoint-column choices. The initial choice is Name and, where available, a unique scalar field. Changing Relationships resets these choices.
- Under Attributes of the relationship, select the values to show. Only attributes carried by this pair are offered. An empty choice is allowed. Change the pair’s Carries first if a needed value is missing. For a grid, choose the attributes people need under each column group.
- Set Layout to One row per relationship or Grid: each record once, a column group per related record. Rows show existing connections. A grid also exposes gaps where people can link records. The first selected to-record field labels each grid column group.
- For rows, Head the rows by chooses Nothing: one list, The from record or The to record. Group headings include counts. This choice does not group the grid.
- Choose Add view. Check the saved step, Views and Issues. The application lists either endpoint type if it was not already listed. No data is created.
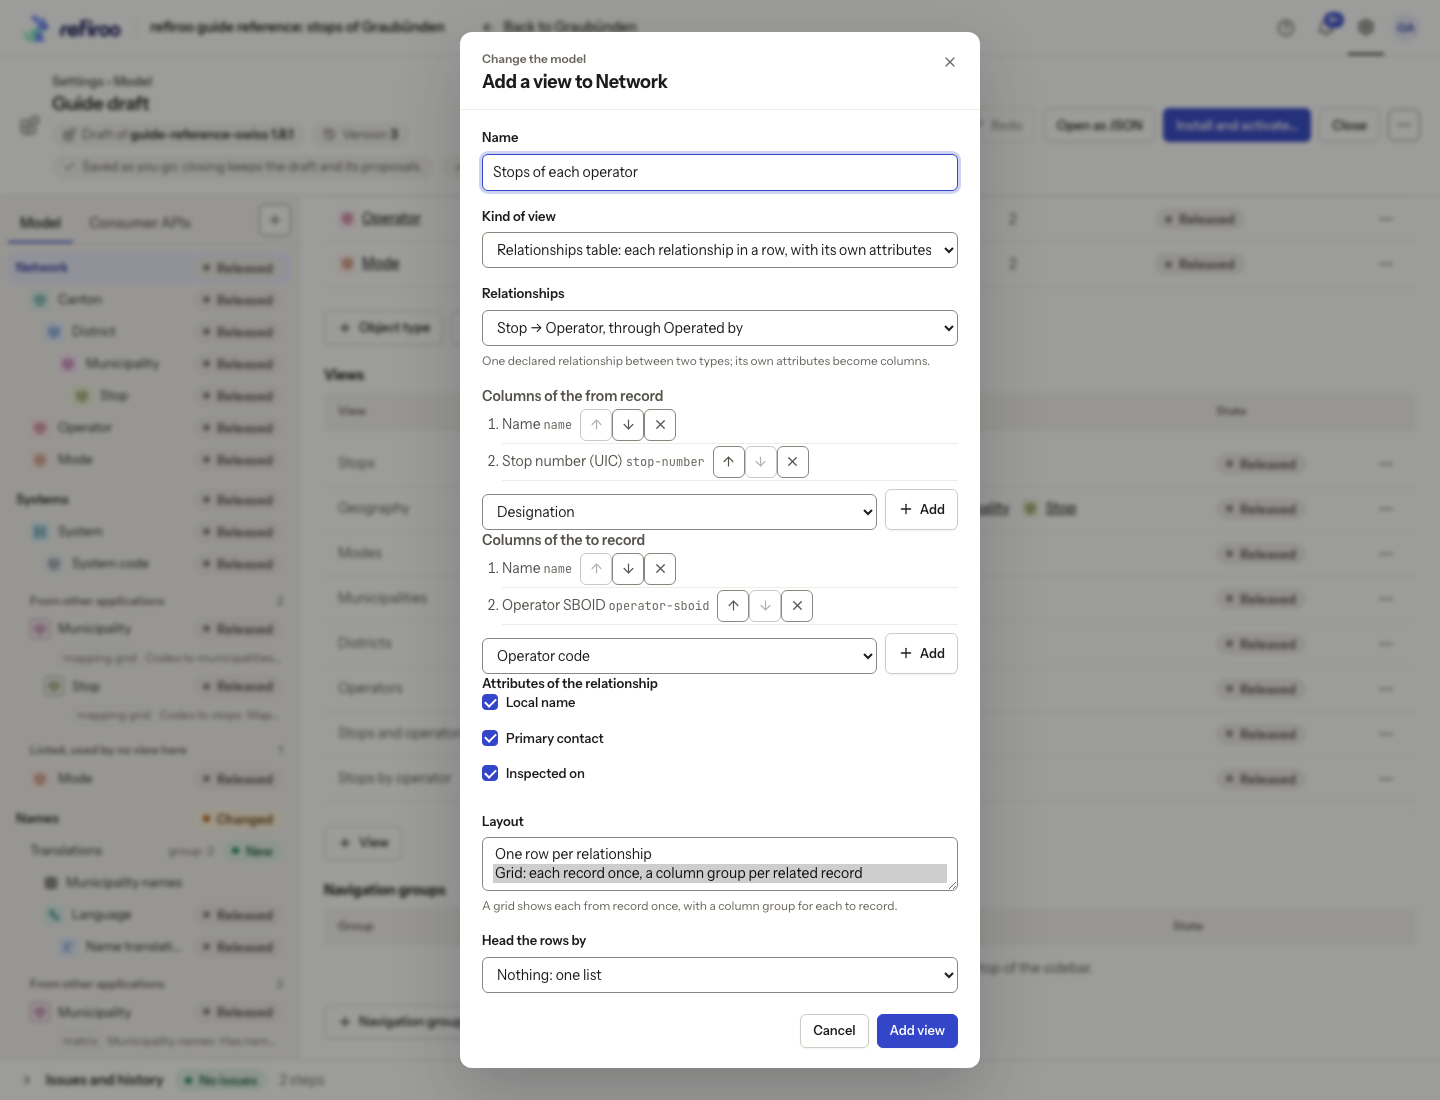
Above: Add a view to Network in a reference-model draft, with Stop to Operator through Operated by, endpoint columns and the three relationship attributes. Layout is an open list showing both choices, with Grid selected. Head the rows by and the name Stops of each operator are also visible. This dialog has not been applied.
Understand the initial reading choices
Section titled “Understand the initial reading choices”The form derives filters from selected fields marked Filterable. It offers sorting by both record names, selected endpoint fields and selected non-JSON relationship attributes, starting with the from record’s name. The reading size starts at 20. Filters, sort declarations and reading size are not separate fields in this dialog. A specialist can adjust them in the JSON view; the model checks their references and permits reading sizes from 1 to 100.
In grid layout, people also get each endpoint type’s main-view filters. They can narrow records and choose displayed fields without changing the model. Their choices stay in that page’s address.
Change the layout and activate
Section titled “Change the layout and activate”- In Views, open the relationships table’s menu and choose Layout….
- Select either layout in the popover and choose Save. This changes the presentation of the same relationship; it does not duplicate or remove its connections.
- Review Issues, then install and activate the release. Open the view in a workspace using the release and check its fields and available actions.
Not applied means the draft step was refused. Read the named issue and correct the pair or field choices. Cancel leaves it unchanged. A publication is read-only, and live editing still requires the person’s data permissions; adding a view does not grant them.
Remove relationships table removes this presentation. Its confirmation also lists types that stop being listed because only this view needed them. Review that list and any migration warning before applying. The view does not own the stored relationships.